Table of Contents
ToggleA standing desk with integrated drawers solves one of the biggest headaches in home office setups: where to put everything. Most standing desks leave users scrambling for add-on storage carts or wall-mounted shelves, but a desk with built-in drawers keeps essentials within arm’s reach while maintaining clean sight lines. Whether working from home full-time or carving out a corner office in the spare bedroom, this furniture category combines ergonomic benefits with practical organization. This guide walks through what to look for, how to set one up properly, and ways to customize the desk for maximum function.
Key Takeaways
- A standing desk with drawers eliminates the need for separate storage carts or filing cabinets, saving valuable floor space while keeping essentials within arm’s reach.
- Electric dual-motor systems with memory presets provide smooth height adjustment and consistent ergonomic positioning for users ranging from 5’0″ to 6’5″.
- Quality ball-bearing drawer slides rated for 75–100 pounds ensure durability and smooth operation, especially important when drawers hold 20–40 pounds of supplies and tools.
- Proper setup requires measuring floor levelness, positioning drawers for full clearance, and securing cables with 24–30 inches of slack to accommodate the full height adjustment range.
- DIY customization options like drawer dividers, pull-out trays, custom fronts, and pegboard panels allow you to tailor a standing desk with drawers for specific work tasks without advanced carpentry skills.
Why Choose a Standing Desk With Built-In Storage?
Integrated drawer storage eliminates the need for separate filing cabinets or rolling carts that eat up floor space. In a typical 10×10 home office, a standing desk footprint runs about 60 inches wide by 30 inches deep, and adding a separate three-drawer pedestal costs another 15 inches of width. Built-in drawers keep that same footprint while housing pens, charging cables, notebooks, and small tools.
Adjustable-height desks with drawers maintain weight distribution better than aftermarket drawer units clamped to the underside. Most electric standing desks with drawers integrate the storage into the frame or support structure, so the lifting mechanism doesn’t strain against unbalanced loads. Check the manufacturer’s stated weight capacity, quality units handle 150–250 pounds including desktop, monitor arms, and drawer contents.
Another advantage: cable management becomes simpler when power strips and surge protectors tuck into a shallow top drawer instead of dangling from desktop grommets. Running cables through a desk with enclosed storage keeps trip hazards to a minimum, especially important if kids or pets share the space. For shared home offices, lockable drawers add a layer of security for documents or tools without requiring a separate locking file cabinet.
Key Features to Look for in a Standing Desk With Drawers
Drawer Configuration and Storage Capacity
Most models offer two configurations: shallow pencil drawers paired with one or two deeper file drawers, or modular cube-style drawers that stack vertically. Pencil drawers (typically 2–3 inches deep) suit office supplies, charging cables, and small hand tools like screwdrivers or hex keys. File drawers at 10–12 inches deep accommodate letter- or legal-size hanging folders and larger items like a power drill or soldering iron for electronics work.
Check drawer dimensions against what needs storing. A standard letter-size hanging file folder requires at least 12.5 inches of interior width and 10 inches of depth. If the desk will hold crafting supplies, 3D printer filament, or woodworking hand planes, measure those items first, drawer interiors often run an inch smaller than the exterior cabinet dimensions due to slides and framing.
Drawer slides matter for longevity. Ball-bearing slides rated for 75–100 pounds handle heavier loads and operate smoothly even when the desk sits at standing height. Cheaper roller slides or plastic tracks wear out faster and can jam when drawers hold more than a few pounds. Full-extension slides let drawers pull all the way out, making it easy to reach items at the back without standing on tiptoe when the desk is raised.
Height Adjustment Mechanism and Range
Electric height adjustment offers the widest range and smoothest operation. Dual-motor systems (one motor per leg) lift more weight and adjust faster than single-motor designs, typically moving 1–1.5 inches per second. Look for a minimum range of 25–50 inches from floor to desktop surface, which accommodates users from about 5’0″ to 6’5″ in both sitting and standing postures.
Manual crank or pneumatic systems cost less but require more effort, especially when drawers add 20–40 pounds to the desk’s total weight. Pneumatic (gas-spring) adjustment works well for light-duty desks under 75 pounds total, but heavier drawer configurations need electric motors or a sturdy hand-crank mechanism. If going the manual route, test the adjustment with the desk fully loaded, some crank systems require 30+ turns to move from sitting to standing height.
Memory presets on electric models (usually three or four saved heights) speed up transitions and help maintain consistent ergonomic positioning. Without presets, users tend to settle at whatever height feels close enough, which defeats the purpose of precise ergonomic adjustment. Many models also include anti-collision sensors that stop the desk if it hits an obstruction during height changes, preventing damage to drawer contents or the frame itself.
Best Placement and Setup Tips for Your Home Office
Position the desk so drawers open without hitting walls, file cabinets, or door swings. Most drawer units extend 12–16 inches when fully open, so measure clearance before pushing the desk against a wall. Corner placements work if the drawer side faces the room’s center, but avoid boxing drawers into a tight corner where they can’t open fully.
Floor levelness affects both drawer operation and motor performance. Use a 24-inch or longer bubble level across the desktop front-to-back and side-to-side. If the floor slopes more than 1/4 inch over the desk’s footprint, the frame can rack slightly, causing drawers to stick or the motor to work harder on one side. Most desks include adjustable feet: turn these to compensate for minor floor irregularities. For tile or concrete floors with bigger slopes, shim the low side with hardboard or plywood cut to fit under the feet.
PPE reminder: When assembling or moving the desk, wear closed-toe shoes and work gloves. Desks with drawers weigh 80–150 pounds partially assembled, and pinch points around drawer slides can catch fingers.
Cable routing matters more with standing desks than static furniture. Secure power and data cables to the desk frame using adhesive cable clips or Velcro straps, leaving enough slack for the full range of height adjustment, usually 24–30 inches of extra cable length. Cables that pull taut at maximum standing height can yank connectors out of monitors or laptops. Some desks include a cable tray or J-channel along the underside: if not, a simple wire basket from the hardware store mounts under the desktop with screws into the frame.
Place the desk perpendicular to windows when possible to minimize screen glare, but avoid positioning it so the user faces a blank wall all day, that setup gets claustrophobic fast. If the room allows, orient the desk so the user looks toward a doorway or window, with task lighting (an articulating desk lamp or under-cabinet LED strip) to supplement natural light.
DIY Customization Ideas to Maximize Your Desk’s Potential
Adding drawer dividers transforms a single large drawer into organized zones. Cut dividers from 1/4-inch hardboard or plywood to fit the drawer’s interior dimensions, creating compartments for charging cables, pens, and small tools. Measure the drawer interior (not the exterior), subtract 1/16 inch for wiggle room, and cut dividers with a circular saw or table saw. A miter saw gives cleaner crosscuts if cutting multiple dividers to the same length. Dividers can slot together using dado joints, or simply stand upright if cut to a snug friction fit. Many woodworking project plans show techniques for building custom drawer organizers with hand tools.
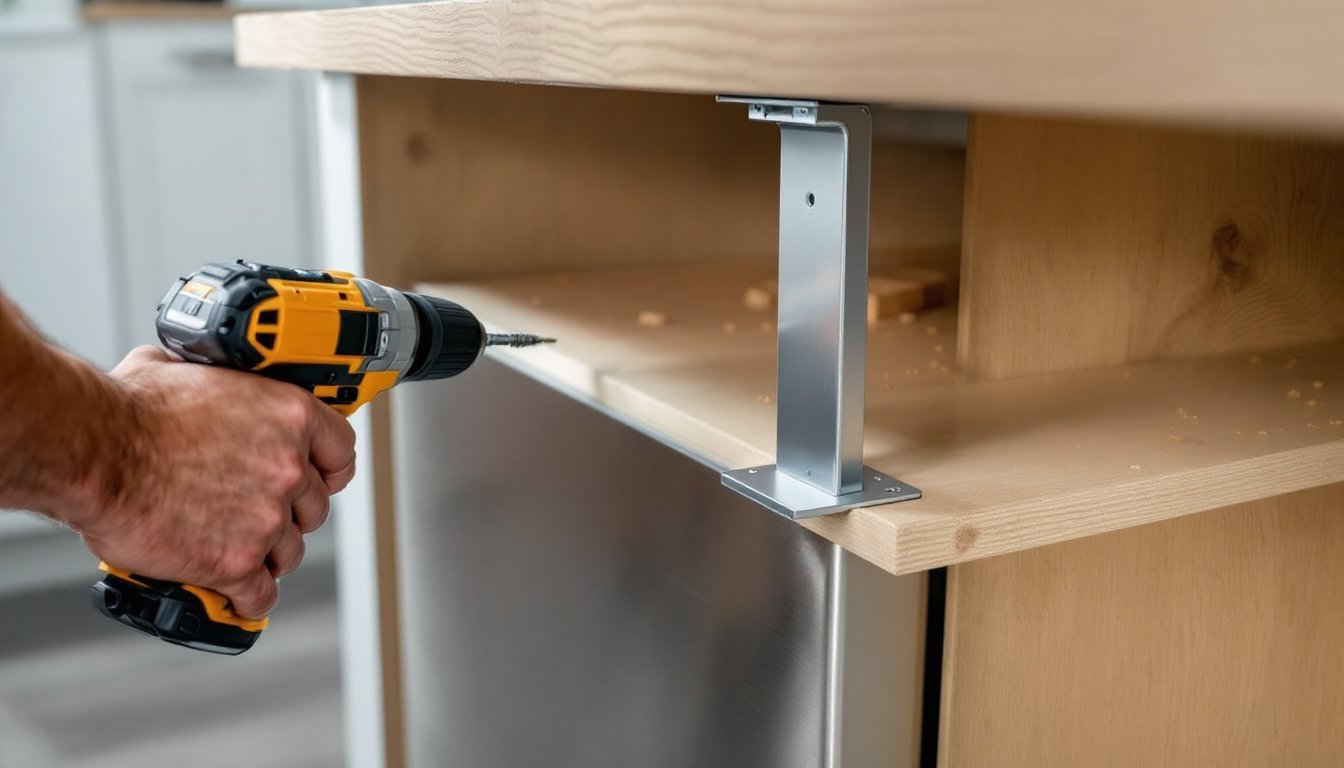
Install pull-out trays under the desktop for keyboard and mouse use in both sitting and standing positions. A simple tray mounts with 12-inch ball-bearing slides attached to the desk’s underside crossbars. Cut a tray platform from 3/4-inch plywood, sand edges smooth, and finish with polyurethane or paste wax to prevent splinters. This keeps the main desktop clear for paperwork or a laptop while typing. If the desk frame lacks mounting points, attach a cleat (a 1×2 or 1×3 board) across the underside using wood screws into the desktop, then mount slides to the cleat.
Customize drawer fronts to match room decor or add labeling. Remove existing drawer fronts (usually four screws from the interior), then cut new fronts from 3/4-inch hardwood plywood or MDF. Rout a finger pull or install modern bar pulls from the hardware store. Paint or stain the new fronts, let them cure fully (72 hours for oil-based finishes), then reattach using the original screw holes. This works well when the desk’s stock finish clashes with the room’s trim or when personalization makes shared office spaces feel more distinct.
For electronics-heavy setups, drill a 2-inch grommet hole in the desktop above a deep drawer, then drop charging cables and USB hubs into the drawer. Devices charge out of sight, and cables stay untangled. Use a hole saw with a pilot bit for clean cuts, wear safety goggles to protect from flying chips. Grommet kits from office supply stores include plastic or metal rings that finish the hole edge. This trick also works for routing Ethernet cables or microphone lines if podcasting or streaming from the desk. Detailed step-by-step DIY project tutorials cover similar cable management builds with photos of each stage.
Add a pegboard panel to the desk’s side or back for tool storage if the workspace doubles as a craft or repair station. Cut a piece of 1/4-inch pegboard to fit between the desk legs or mount it to the wall behind the desk. Pegboard hooks hold pliers, screwdrivers, tape measures, and other hand tools, keeping drawer space free for paper supplies. Mount the pegboard 1 inch off the wall using spacer blocks so hooks insert easily. This setup pairs well with desks used for small electronics repair, model building, or jewelry making, where tools need to stay visible and within reach. Check woodworking plans and furniture building tutorials for ideas on integrating pegboard into desk frames or attaching it to adjustable-height structures without interfering with the lifting mechanism.
Conclusion
A standing desk with drawers consolidates workspace and storage into one footprint, cutting clutter and keeping tools accessible at any height. Focus on drawer slide quality, height range, and motor capacity when shopping, then set the desk up with attention to floor level and cable slack. Simple DIY tweaks, dividers, pull-out trays, custom fronts, or pegboard panels, tailor the desk to specific tasks without requiring advanced carpentry skills. Measure twice, secure cables properly, and the desk will serve reliably for years.