Table of Contents
ToggleWhen a Dyson cordless vacuum starts losing suction mid-clean or won’t hold a charge for more than five minutes, the battery’s usually the culprit. The good news? Swapping out a dyson vacuum battery is one of the easiest repairs a homeowner can tackle, no prior electrical experience required, and most jobs take under ten minutes. Unlike replacing a belt or filter, battery replacement involves just a few screws and a quick swap. This guide walks through the warning signs of a failing battery, how to identify the right replacement for any Dyson model, and the exact steps to install it. With the right replacement battery in hand, users can restore their Dyson to full runtime without the cost of a brand-new vacuum.
Key Takeaways
- Dyson vacuum battery replacement is a straightforward DIY repair taking under 10 minutes that requires only a Phillips-head screwdriver and can restore your cordless vacuum to full runtime without purchasing a new unit.
- Failing batteries show clear warning signs including shortened runtime, flashing LED lights, intermittent power loss, overheating, and inability to charge—recognizing these symptoms helps you act before complete failure.
- Identifying your exact Dyson model number and battery specifications is essential for compatibility; use the Dyson parts lookup tool with your serial number to find the correct dyson vacuum battery replacement and avoid warranty voids.
- Genuine Dyson batteries ($70–$130) offer better runtime and reliability than aftermarket alternatives ($30–$60), but quality aftermarket options work well for occasional users seeking budget-friendly solutions.
- Proper battery maintenance—including avoiding deep discharge, storing at 40–60% charge, keeping contacts clean, and using the official charger—can double your battery’s lifespan to 3–5 years.
- Replacement batteries are readily available from multiple sources including Dyson’s official store, Amazon, eBay, and local vacuum repair shops, which often offer on-site installation for a modest fee.
Signs Your Dyson Battery Needs Replacement
Dyson cordless vacuums use lithium-ion cells that degrade over time, typically after 300–500 charge cycles, depending on the model and usage. Recognizing the symptoms of a dying battery saves time and prevents frustration.
Shortened runtime is the most obvious indicator. A V7 that used to run for 30 minutes on standard mode but now dies after 8–10 minutes has lost significant capacity. If the vacuum requires charging after every room, the battery’s at the end of its cycle life.
Flashing blue or red LEDs often signal battery faults. Dyson models display specific error patterns: a flashing blue light may indicate a charging issue, while solid red lights paired with no power suggest cell failure. Check the user manual for model-specific codes.
Intermittent power loss during use, especially when the vacuum cuts out mid-stroke and only restarts after being docked, points to failing cells that can’t maintain voltage under load. This differs from filter clogs, which cause steady power but reduced airflow.
Overheating during charging or use is a red flag. If the battery pack feels unusually hot to the touch or the vacuum shuts down with a thermal warning, internal cells may be damaged. Don’t continue using a swollen or deformed battery: it’s a fire hazard.
Won’t charge at all. If the vacuum sits on the dock overnight and shows zero charge, the battery management system (BMS) may have locked out due to deep discharge. Occasionally, this can be reset with a full power cycle, but more often it means the cells are done. According to appliance testing standards, batteries that fail to charge after multiple attempts should be replaced immediately to avoid further issues.
How to Identify Your Dyson Model and Compatible Battery
Dyson makes a dozen cordless models, and each uses a specific dyson vacuum replacement battery. Using the wrong battery voids warranties and can damage the vacuum.
Locate the model number on the vacuum body, usually stamped on a silver or white label near the battery compartment or beneath the dustbin. Common models include V6, V7, V8, V10, V11, V12, and V15. Older stick models like DC58, DC59, DC61, and DC62 share compatible packs.
Check the serial number as well, it’s a longer alphanumeric code on the same label. Some model variants (like the V8 Absolute vs. V8 Animal) use identical batteries, but confirming both model and serial ensures compatibility.
Note the battery voltage and capacity. Dyson batteries range from 21.6V (V6) to 25.2V (V11 and newer). Capacity varies from 2,000mAh to 3,600mAh. The original battery pack has these specs printed on a sticker: snap a photo before removal.
OEM vs. aftermarket batteries: Genuine Dyson batteries cost $70–$130 depending on the model. Aftermarket options from brands like Powilling, FLAGPOWER, or Biswaye run $30–$60. Aftermarket cells often use lower-grade lithium cells, which may deliver 70–80% of the runtime of OEM packs. For occasional users, they’re a budget-friendly option. For daily cleaning or commercial use, stick with OEM.
Where to find the part number: Dyson’s official website has a parts lookup tool. Enter the serial number, and it returns the exact battery part number. Third-party retailers like Amazon or eBay list compatibility charts, but cross-reference with the Dyson database to avoid mismatches.
Step-by-Step: Replacing Your Dyson Vacuum Battery
Replacing a dyson cordless vacuum battery requires a Phillips-head screwdriver (#2 or #1, depending on model), a clean workspace, and about five minutes. No permits, wiring, or special tools needed.
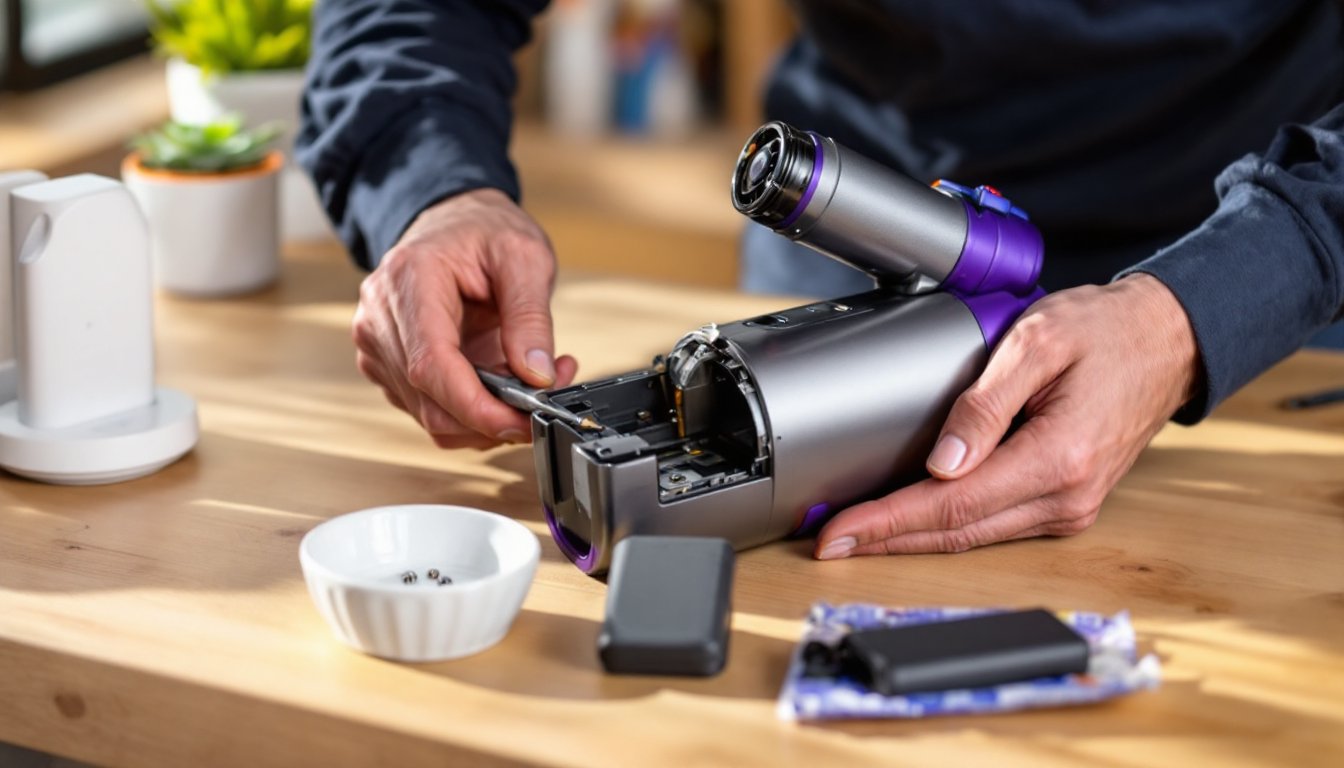
Removing the Old Battery
1. Power down and unplug. Remove the vacuum from the charging dock. Press the trigger to discharge any residual current, this prevents accidental startup.
2. Locate the battery release screws. Most Dyson stick vacuums have two or three screws securing the battery pack. On V6–V8 models, these are on the underside of the handle, just above the battery. V10 and newer models often have screws on the rear of the battery housing.
3. Remove the screws. Use a Phillips-head screwdriver and set the screws aside in a small dish. They’re easy to lose. If screws are overtightened or stripped from a previous repair, apply penetrating oil and let it sit for a few minutes before retrying.
4. Slide out the battery. Once screws are out, gently pull the battery pack away from the vacuum body. It may require a slight wiggle, don’t force it. Electrical contacts should slide free without resistance. If the pack is stuck, check for hidden clips or an additional screw.
5. Dispose of the old battery properly. Lithium-ion batteries can’t go in household trash. Many municipalities have hazardous waste drop-off days, or retailers like Home Depot and Best Buy accept rechargeable batteries for recycling. According to seasonal maintenance guides, proper disposal of old batteries prevents environmental contamination.
Installing the New Battery
1. Inspect the vacuum contacts. Before inserting the new pack, check the metal contacts inside the vacuum body for corrosion or debris. Wipe them with a dry cloth. If contacts are corroded, lightly sand with fine-grit sandpaper (220-grit) and wipe clean.
2. Align the new battery. Match the battery’s connector pins to the vacuum’s socket. Dyson batteries are keyed, they only fit one way. Slide the pack in until it seats flush with the handle.
3. Replace the screws. Thread screws by hand first to avoid cross-threading, then snug them with the screwdriver. Don’t overtighten: plastic threads strip easily. If using an aftermarket battery with slightly different screw posts, verify alignment before tightening.
4. Charge fully before first use. Place the vacuum on the dock and let it charge for at least 3.5 hours (longer for high-capacity packs). The LED should display a steady blue light when charging completes. Some batteries require a “break-in” cycle, charge fully, use until depleted, then charge again.
5. Test runtime. Run the vacuum on standard power mode and note the runtime. A new dyson stick vacuum battery should deliver runtime close to the manufacturer’s spec (20–60 minutes depending on model and mode).
Where to Buy Replacement Batteries and Cost Comparison
Dyson official store: Direct from Dyson or authorized retailers like Best Buy. Prices range from $70 (V6) to $130 (V15). Genuine batteries come with a 12-month warranty and guaranteed compatibility. Lead time is typically 3–5 business days for standard models.
Amazon and third-party sellers: Aftermarket dyson handheld vacuum battery packs cost $30–$60. Brands like Powilling and FLAGPOWER offer 2-year warranties, but read reviews carefully. Look for packs with overcharge protection and thermal cutoffs. Avoid no-name batteries with less than 100 reviews, quality control is inconsistent.
eBay and refurbishers: Used or refurbished packs run $25–$50. These are pulled from returned or damaged vacuums, tested, and resold. Capacity may be lower than advertised. Only buy from sellers with detailed testing reports and return policies.
Local vacuum repair shops: Many service centers stock OEM and aftermarket batteries. Pricing is competitive with online options, and technicians can install the battery on-site for an additional $15–$25. Useful if the vacuum has multiple issues.
Cost-benefit analysis: A genuine Dyson battery for a V8 costs around $90. A quality aftermarket pack runs $45. If the vacuum is less than three years old and otherwise functional, either option makes sense. If the vacuum is over five years old with worn brushes and filters, weigh the repair cost against a new model. According to expert contractor recommendations, investing in a quality battery extends the life of a well-maintained vacuum by 2–3 years.
Warranty coverage: Dyson vacuums come with a 2-year warranty that covers battery defects. If the vacuum is under warranty and the battery fails due to manufacturing defect (not wear), Dyson will replace it free. Register the vacuum at purchase to streamline warranty claims.
Tips to Extend Your New Dyson Battery’s Lifespan
Proper care can double the cycle life of dyson vacuum batteries, pushing them past 500 charge cycles.
Avoid deep discharge. Don’t run the vacuum until it shuts off completely. Recharge when runtime drops to 10–15%. Deep discharge stresses lithium cells and accelerates capacity loss.
Store at partial charge. If the vacuum won’t be used for weeks, charge the battery to 40–60% and remove it from the vacuum. Lithium-ion cells degrade faster when stored fully charged or fully depleted.
Keep the battery cool. Heat is the enemy of lithium cells. Don’t leave the vacuum in a hot car, garage, or near heating vents. Ideal storage temperature is 50–70°F.
Clean contacts regularly. Every few months, wipe the battery and vacuum contacts with a dry cloth to prevent buildup that causes poor connections and charging failures.
Use the right charger. Only use the Dyson-supplied charging dock. Third-party chargers may deliver incorrect voltage, damaging the battery management system.
Don’t leave it docked 24/7. While Dyson’s BMS prevents overcharging, keeping the battery at 100% constantly stresses the cells. Charge when needed, then unplug or remove the battery.
Run full cycles occasionally. Once a month, run the vacuum until the low-battery warning, then charge fully. This recalibrates the BMS and keeps the cells balanced.
Replace filters and clear blockages. A clogged filter or brush bar forces the motor to work harder, drawing more current and heating the battery. Check and clean filters every month.
By following these practices, a new battery can provide 3–5 years of service under typical residential use, comparable to the vacuum’s expected lifespan.